Check all the boxes
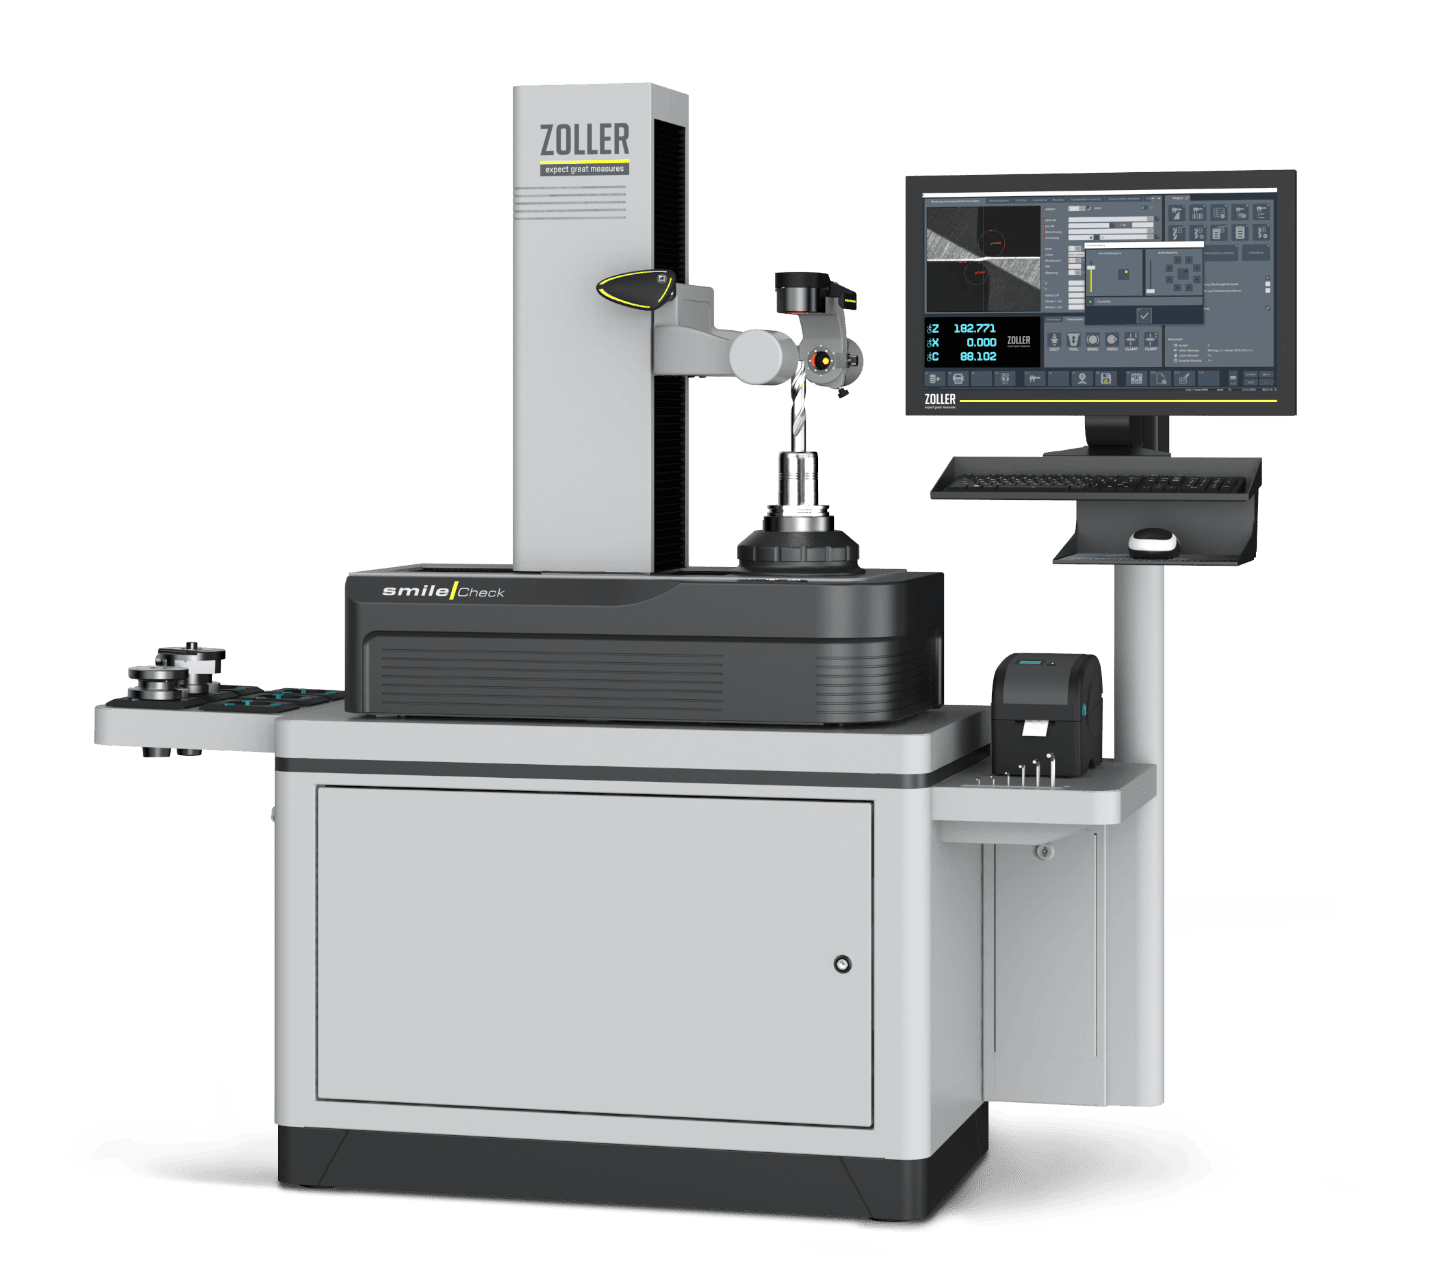
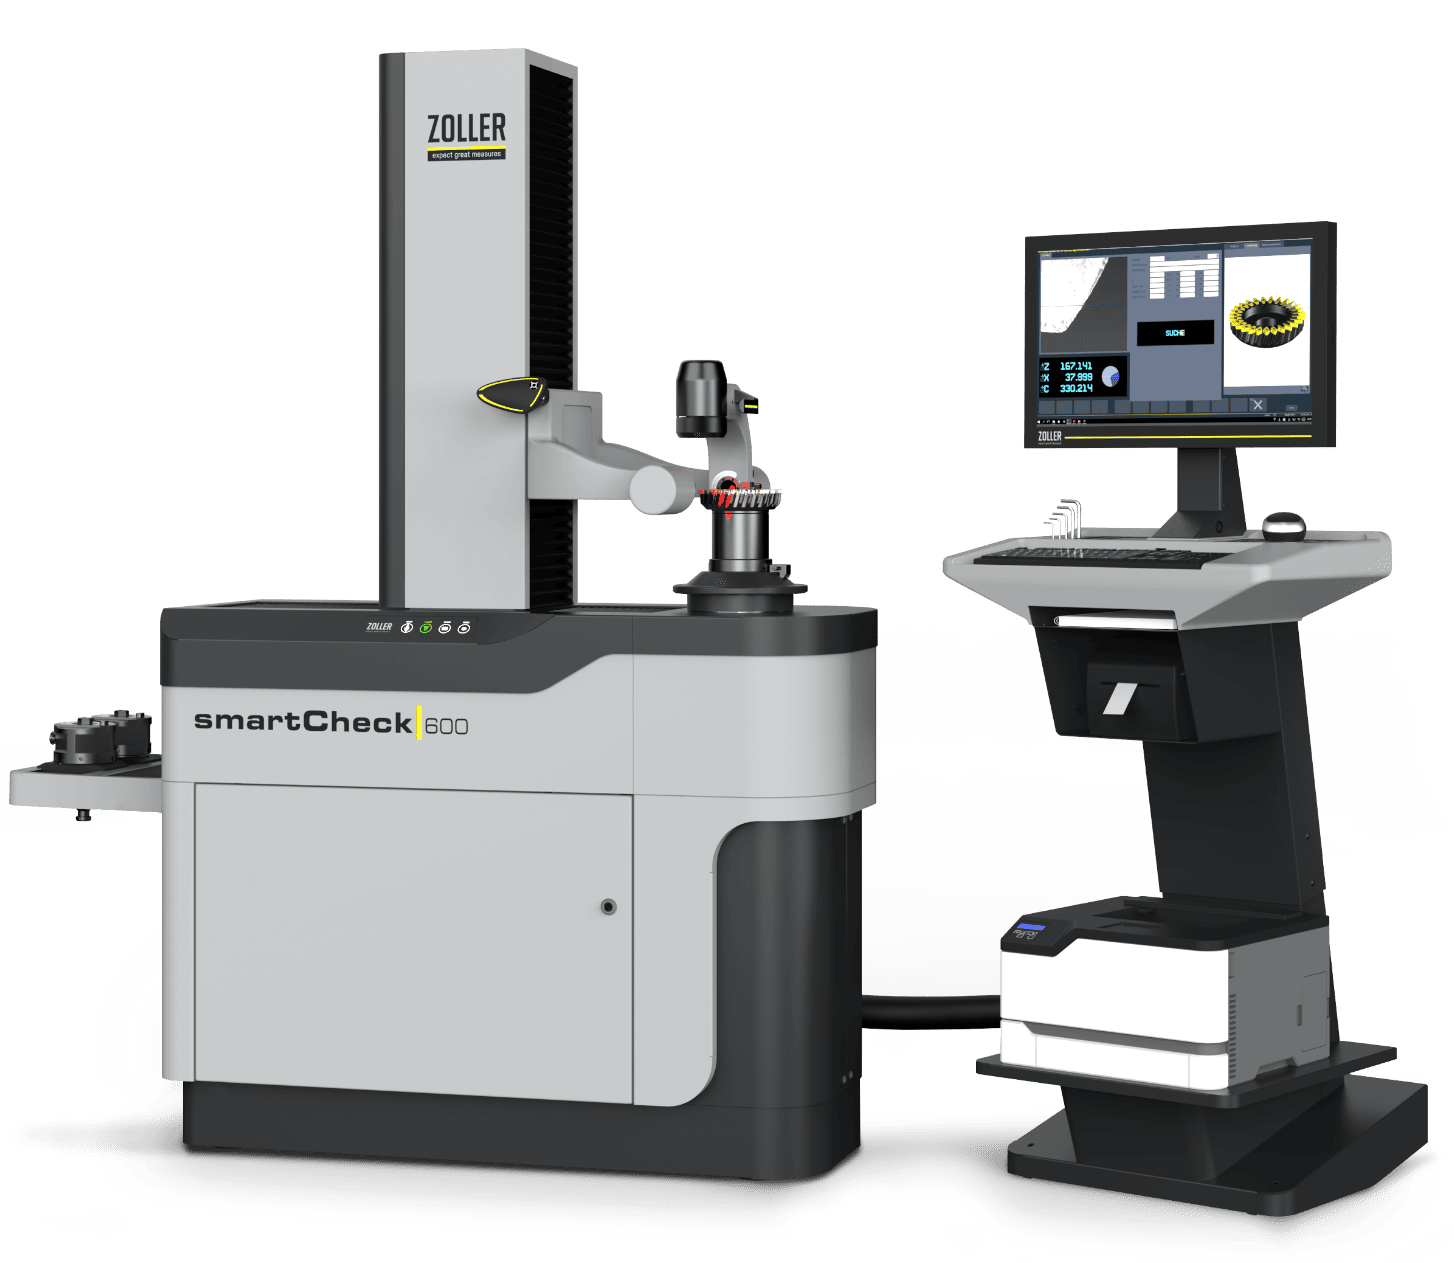
Only tools of first-class quality pass the close inspections of the »smileCheck« and »smartCheck« solutions.
The toughest inspectors in the world
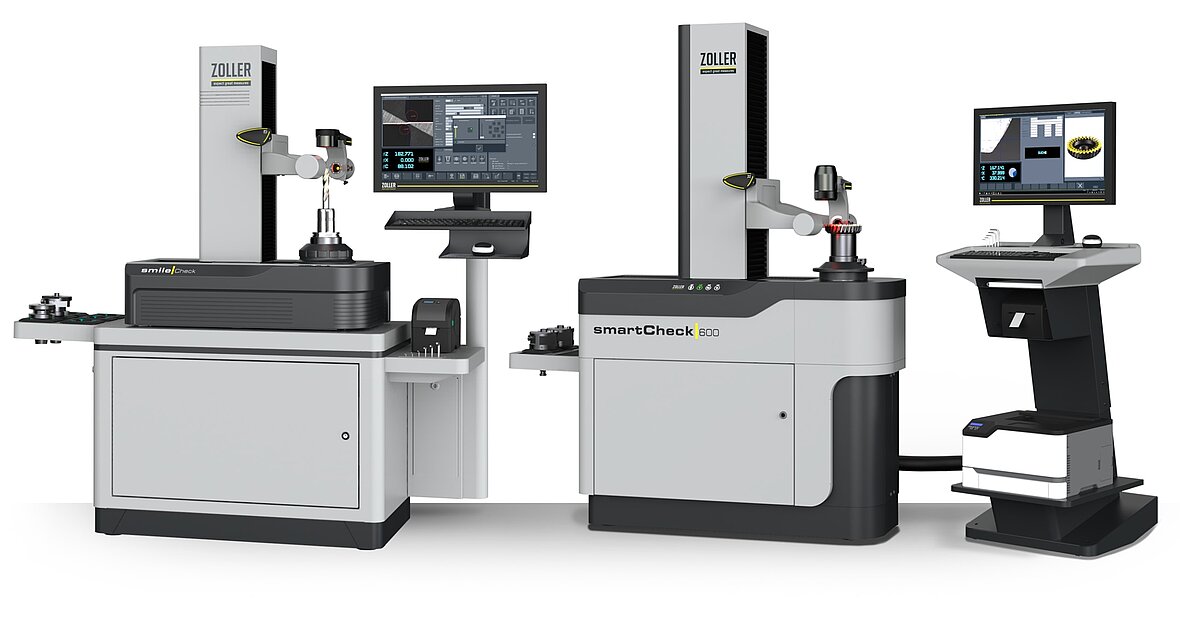
Every successful tool manufacturer, tool grinder and production company is serious about quality. Now you can document that quality with precise data, giving you proof that your parts are a cut above the competition.
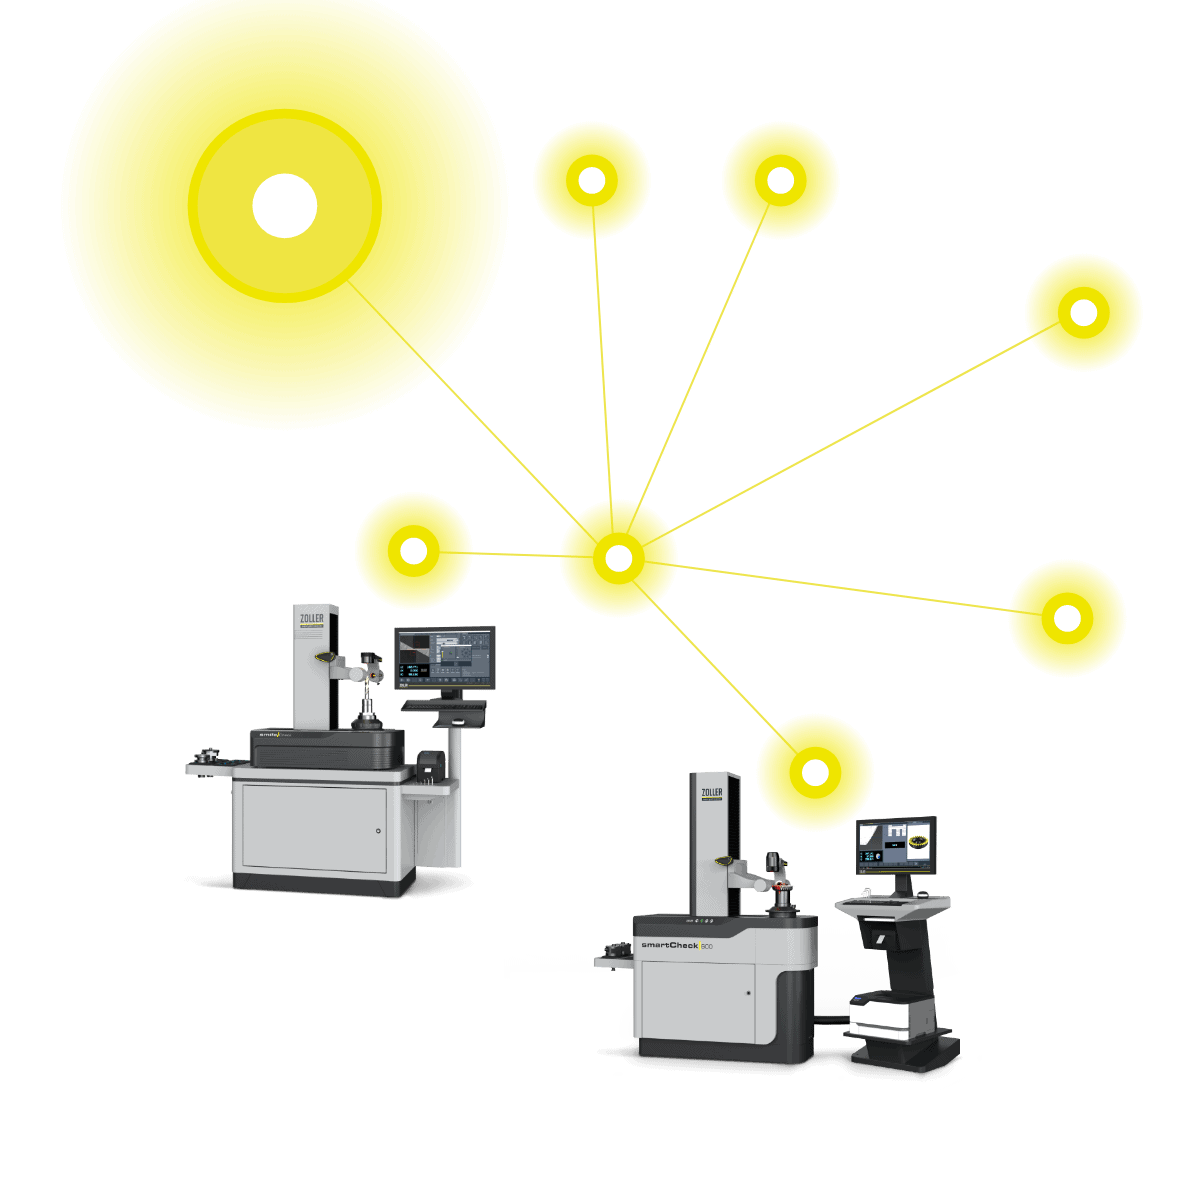
The »smileCheck« and »smartCheck« inspect tools and grinding wheels with micron precision throughout the manufacturing process. With these solutions working for you, you can guarantee quality and increase the efficiency of your grinding machines.
Arrange 1:1 expert meeting
Check tool quality and wear and tear
Get deep insight into your tools. These solutions leave no stone unturned when it comes to measuring tool condition, including geometries, radii, edges, contours and angles.
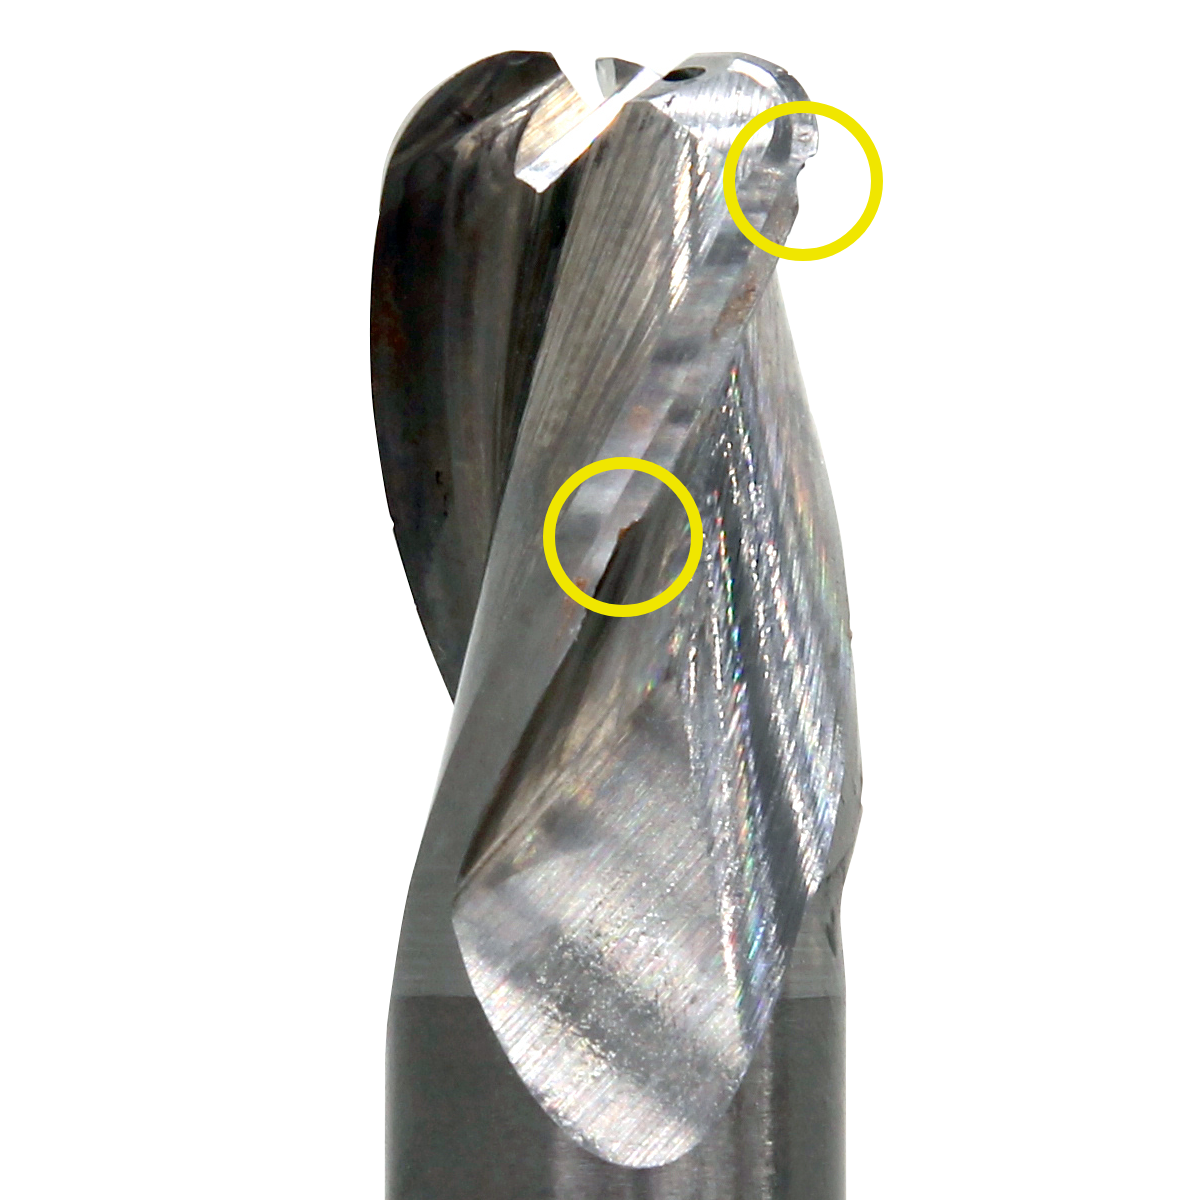
Measure precisely, both radially and axially
When the results are precise down to the micron, you can trust their accuracy. With both the »smileCheck« and »smartCheck« solutions, the swiveling incident light camera adjusts its perspective to the inspection task to provide everything you need to know about your tool.
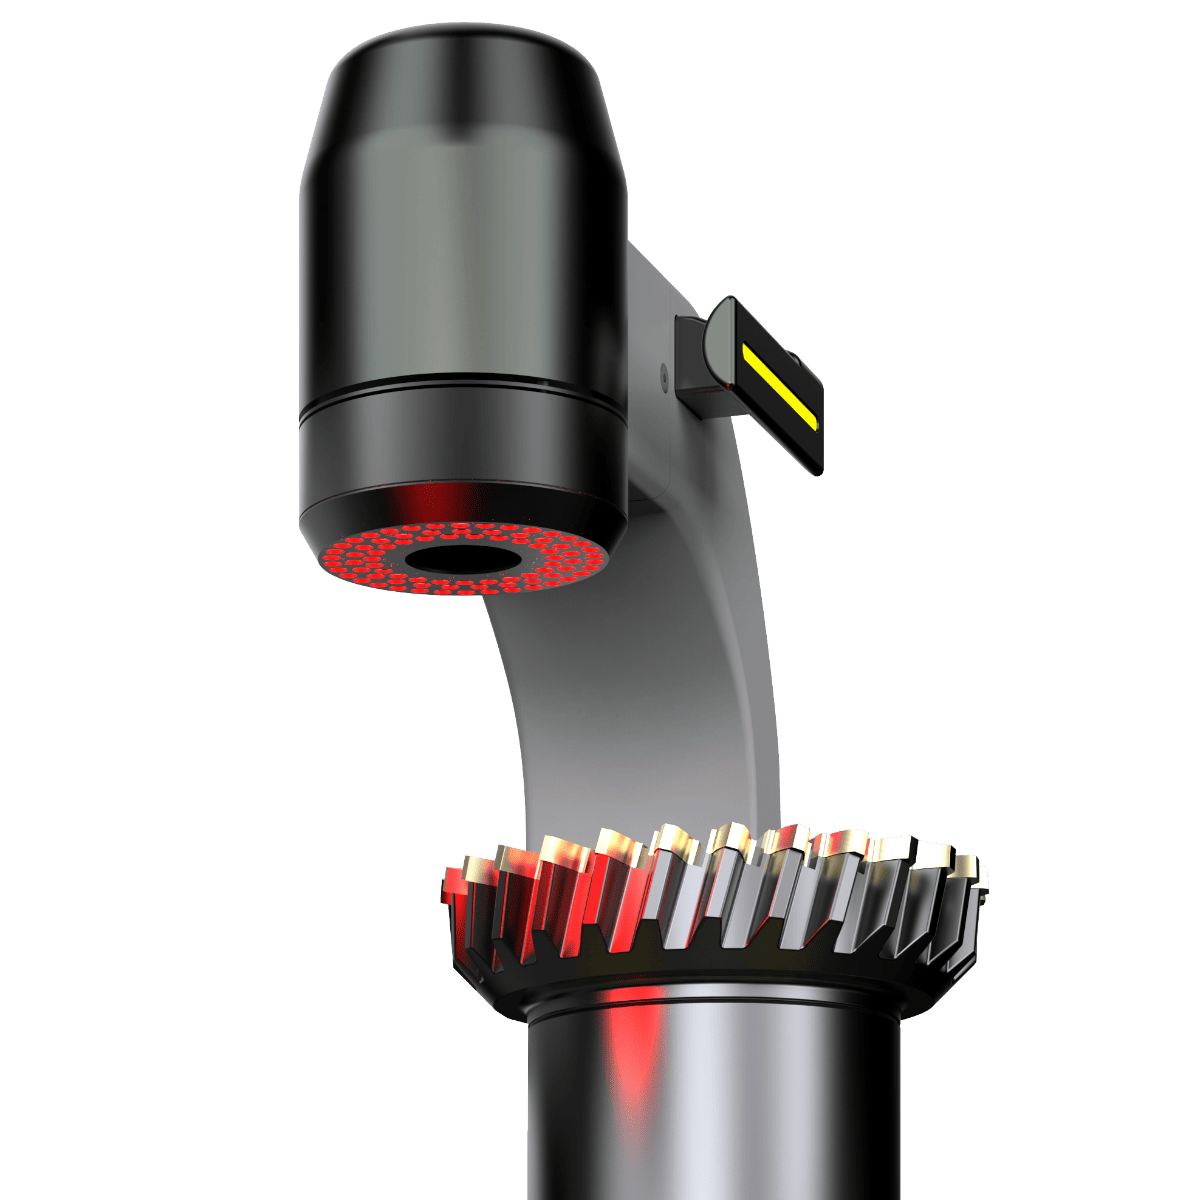
Go into production faster
Stay ahead of the curve from the start. These solutions take you quickly from the test run to production. Implement final corrections to tool cutting edges using test data, and measure grinding wheels in advance to achieve the highest quality possible as soon as production begins.

Potential productivity gain per CNC grinding machine*
25 %
* Time savings in grinding and regrinding processes from precise measurement data and optimally calibrated grinding wheels, as well as shorter setup times due to automated data transfer.


