Simple: Visual quality inspection
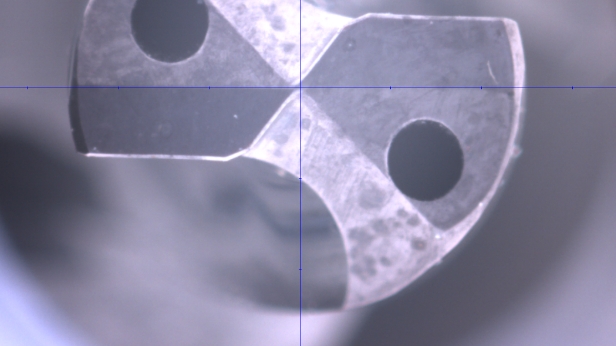
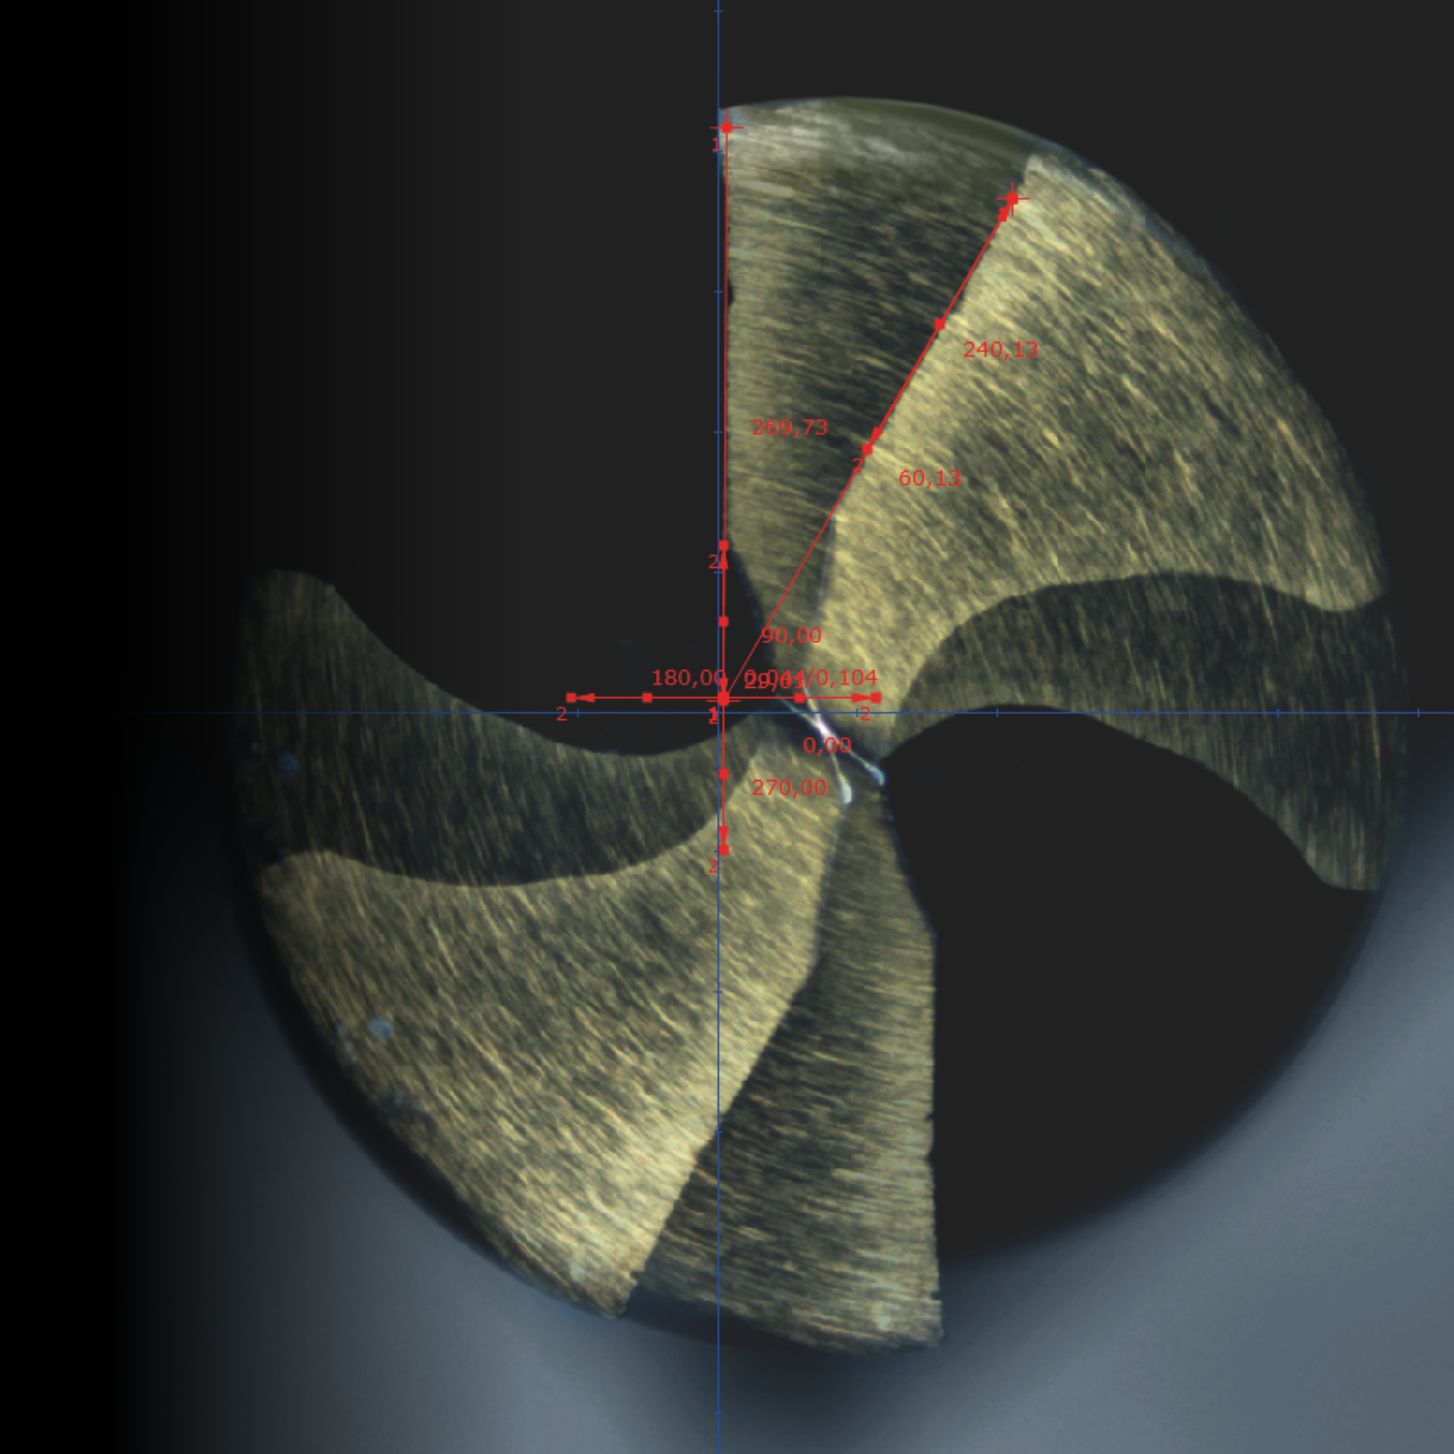
It's easy to compare target and actual values. Store a digital master image of an ideal tool. For a quick visual quality check, superimpose the master image over the camera image and get an initial impression of the production quality.
Simple: Visual quality inspection
It's easy to compare target and actual values. Store a digital master image of an ideal tool. For a quick visual quality check, superimpose the master image over the camera image and get an initial impression of the production quality.

Exciting: »pomPrisma«
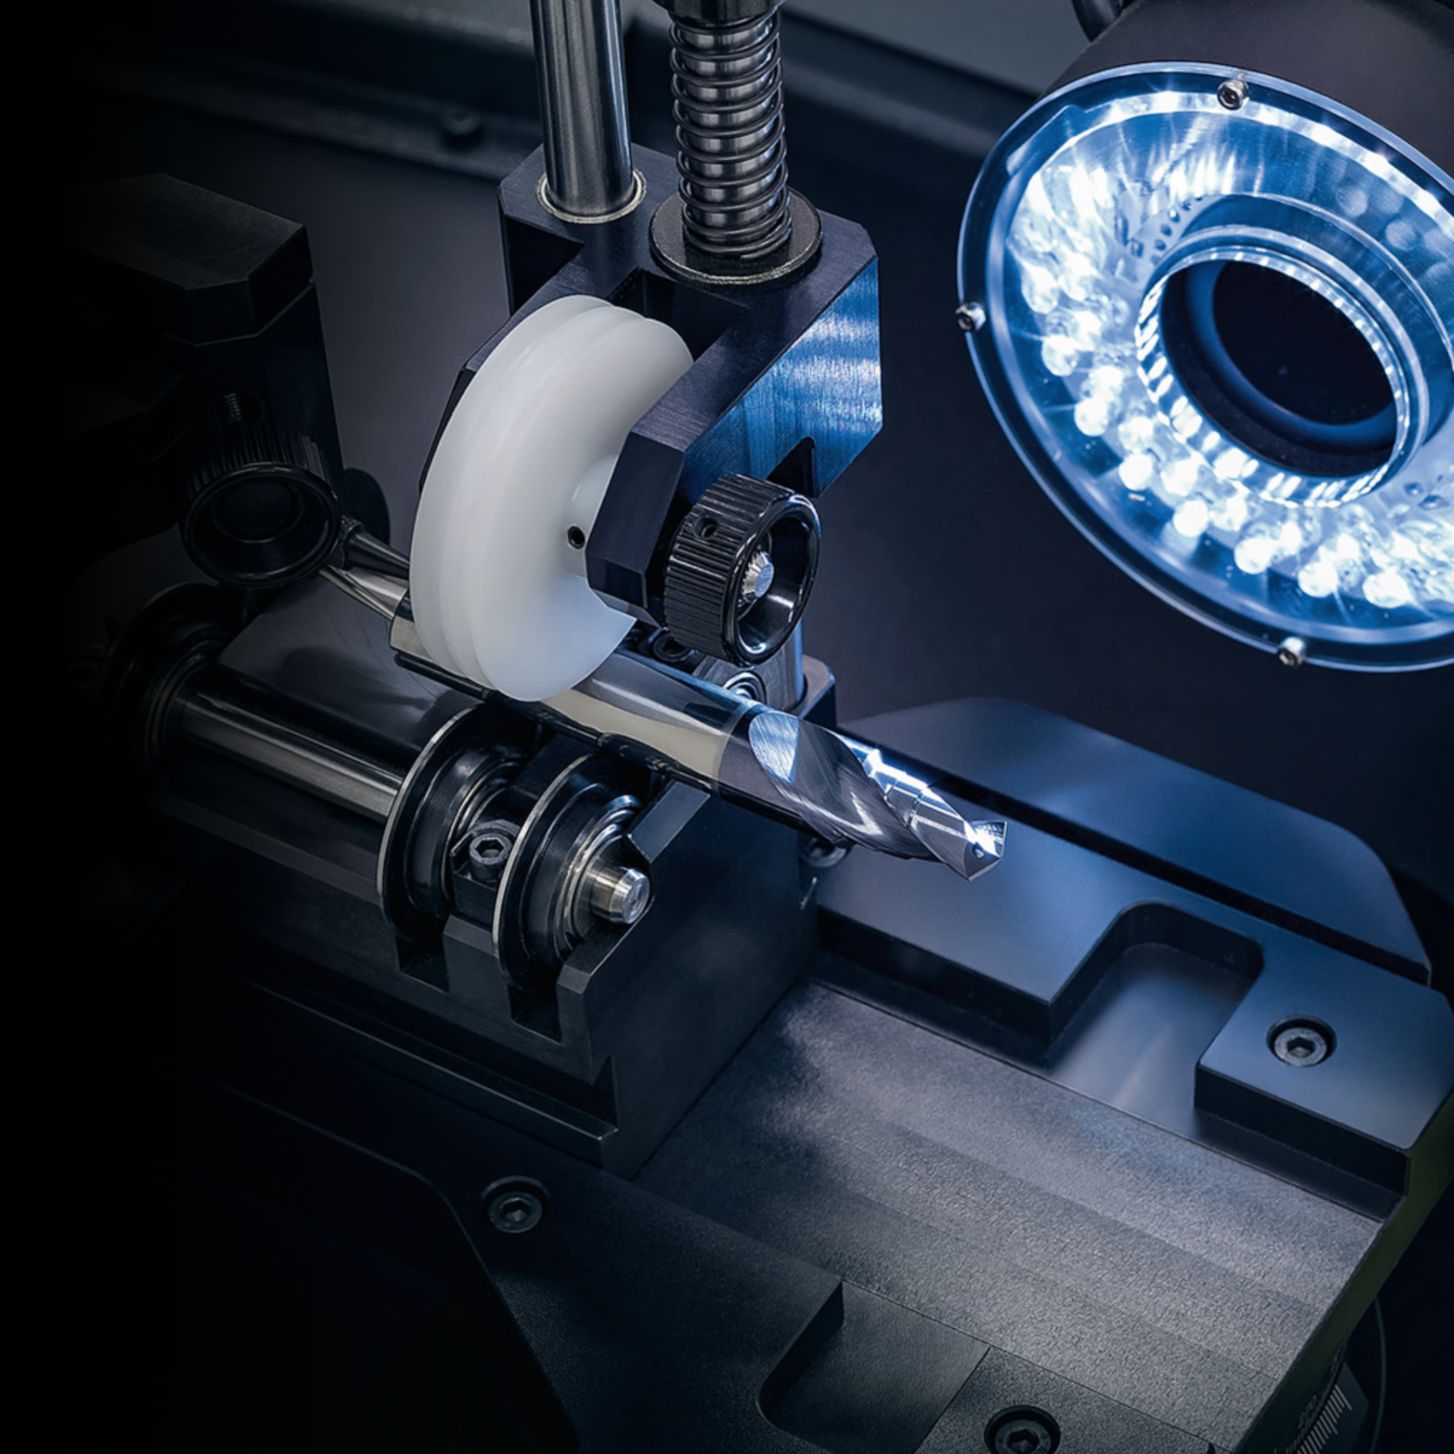
With the »pomPrisma« tool holding fixture, you can clamp tools with a shank diameter of 2 to 50 mm. The matching swiveling table is equipped with a rotary encoder. This allows you to align the tool quickly and reliably at the target angle, all while supported by the software.
Exciting: »pomPrisma«
With the »pomPrisma« tool holding fixture, you can clamp tools with a shank diameter of 2 to 50 mm. The matching swiveling table is equipped with a rotary encoder. This allows you to align the tool quickly and reliably at the target angle, all while supported by the software.

Bright: Transmitted light
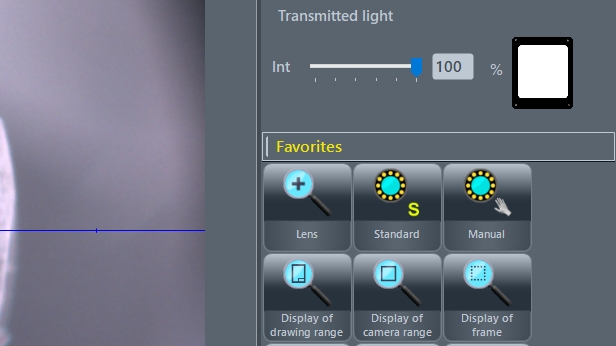
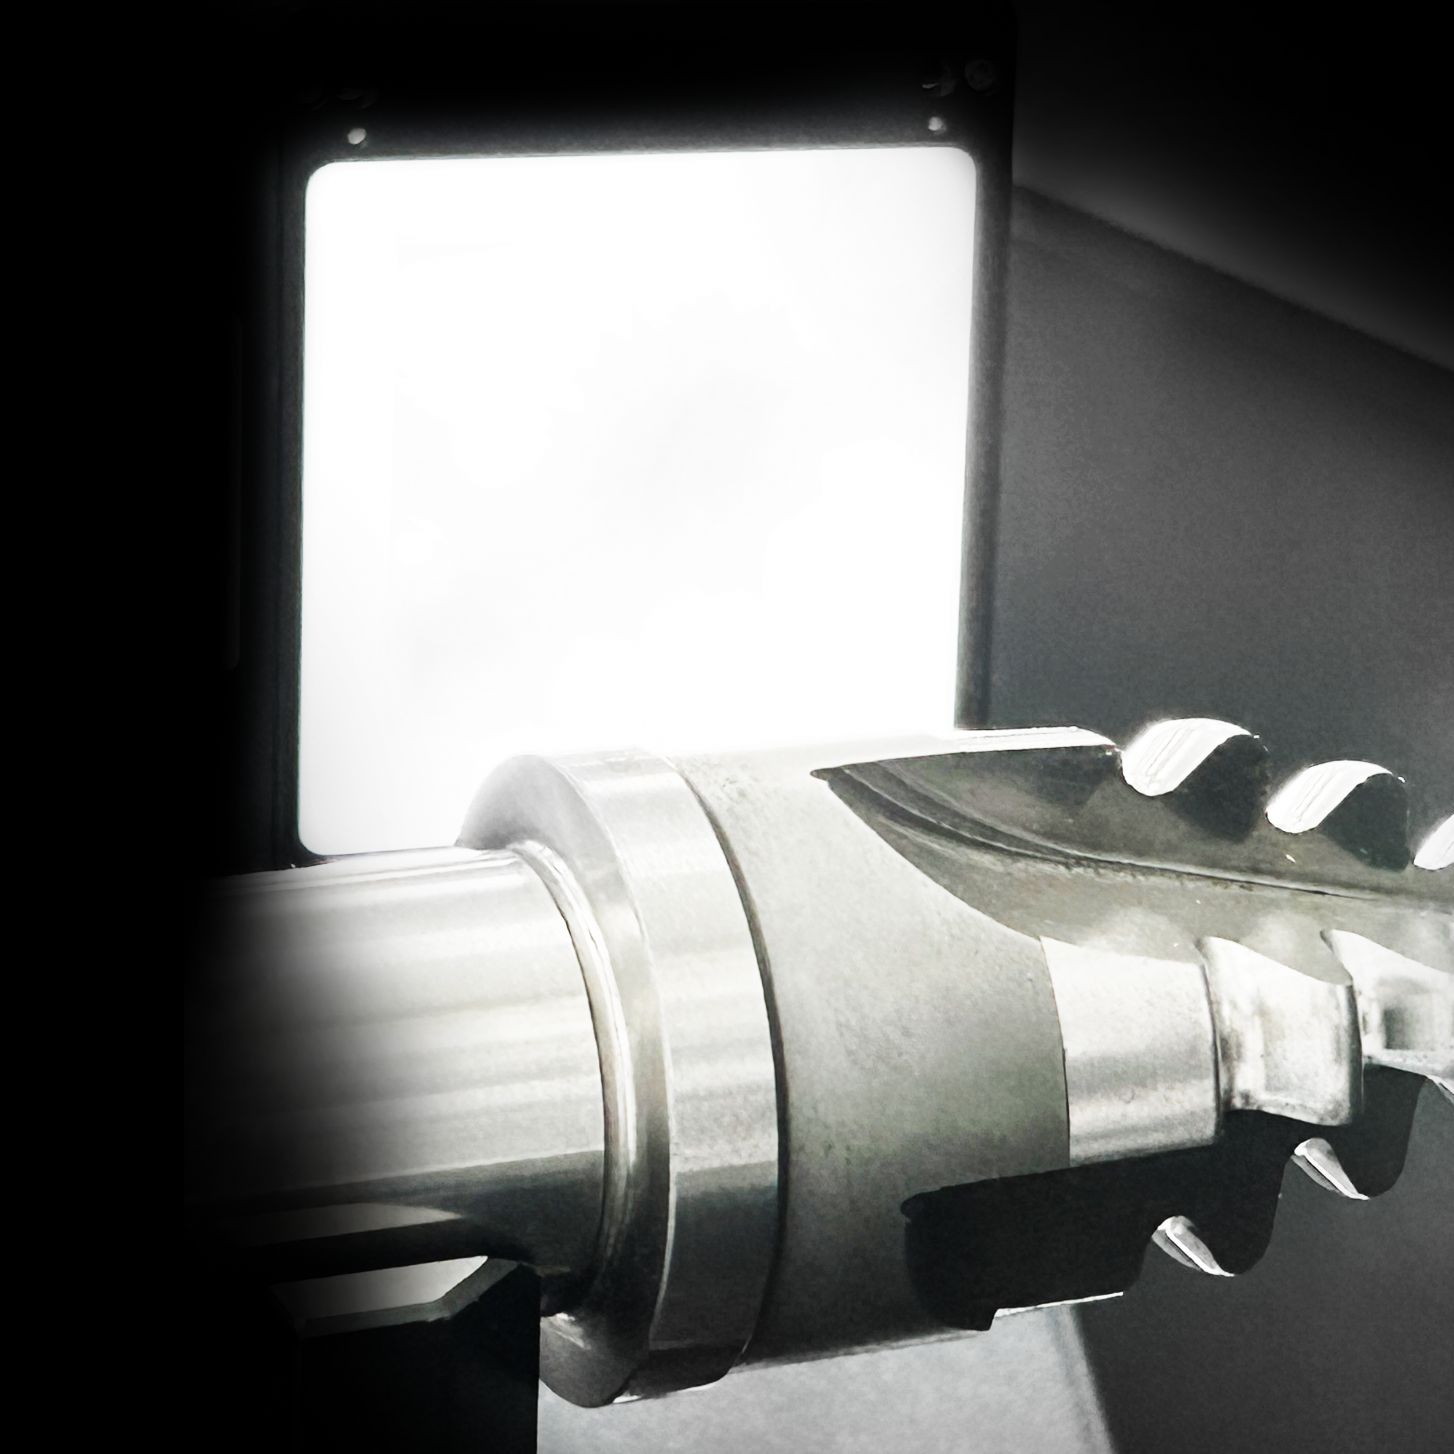
For transmitted light measurements, all you need to do is position the LED flat light opposite the camera. The inspection device is immediately ready to measure step lengths, angles, outer contours and other geometries.
Bright: Transmitted light
For transmitted light measurements, all you need to do is position the LED flat light opposite the camera. The inspection device is immediately ready to measure step lengths, angles, outer contours and other geometries.

Bring automation and macros into the workflow with »pomSoft«
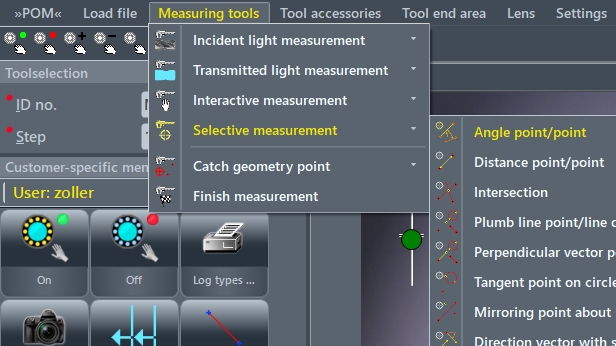
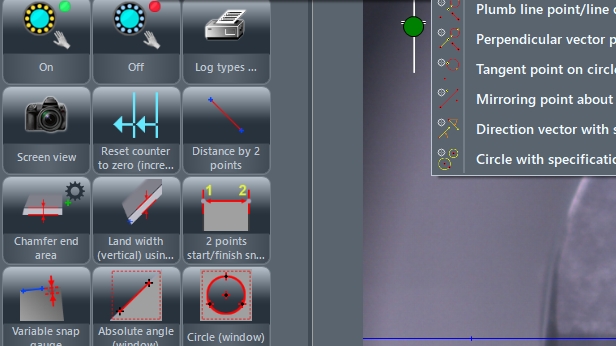
The »pomSoft« software for measuring and testing on the »pomBasic« and »pomBasicMicro« is as intuitive as ZOLLER's popular »pilot 4.0« image processing software. You can adapt »pomSoft« to your measurement requirements and customize it for your exact needs.
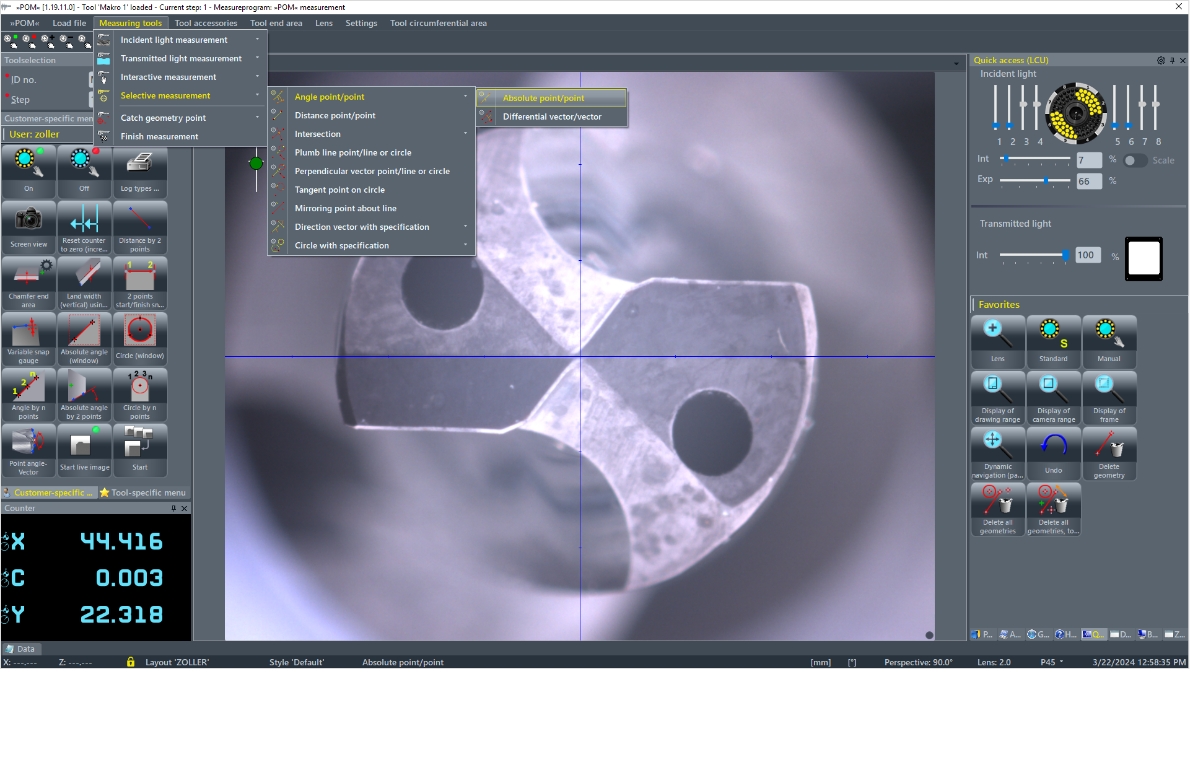
Software wizards simplify measurements, and programmable macros allow you to automate frequent measurement runs. With a few mouse clicks, the measurement data arrives in seconds. Welcome to your new, customized workflow.
Tool selection
Customized menu
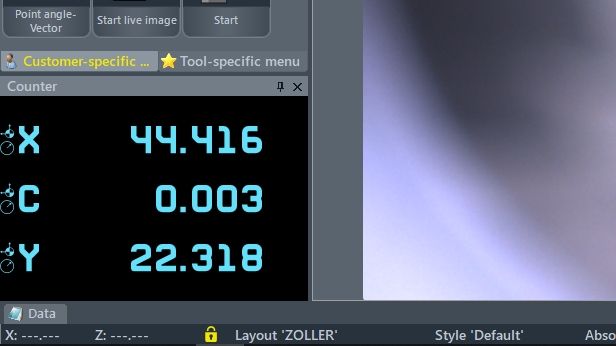
Counter
Current camera image of the tool
Dynamic navigation
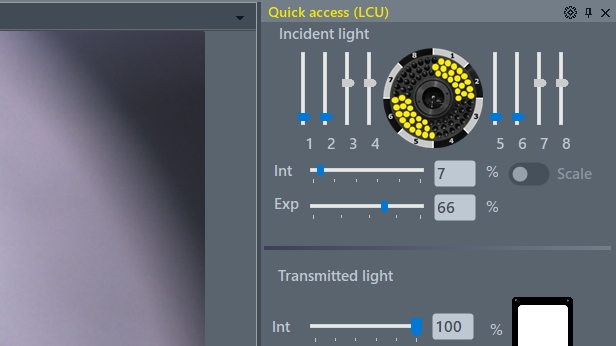
Automatic lighting
Quick access
For almost everything from 3 millimeters
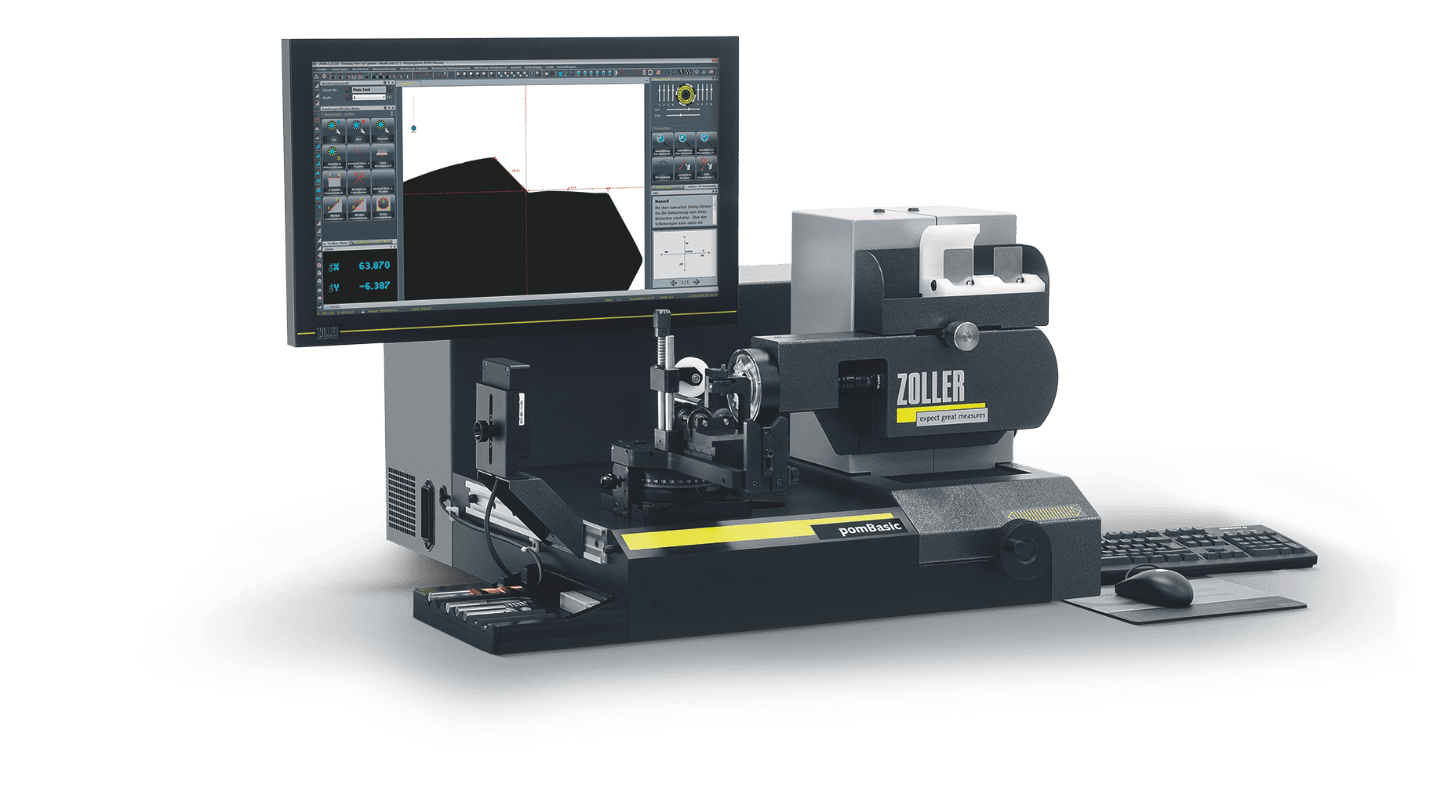
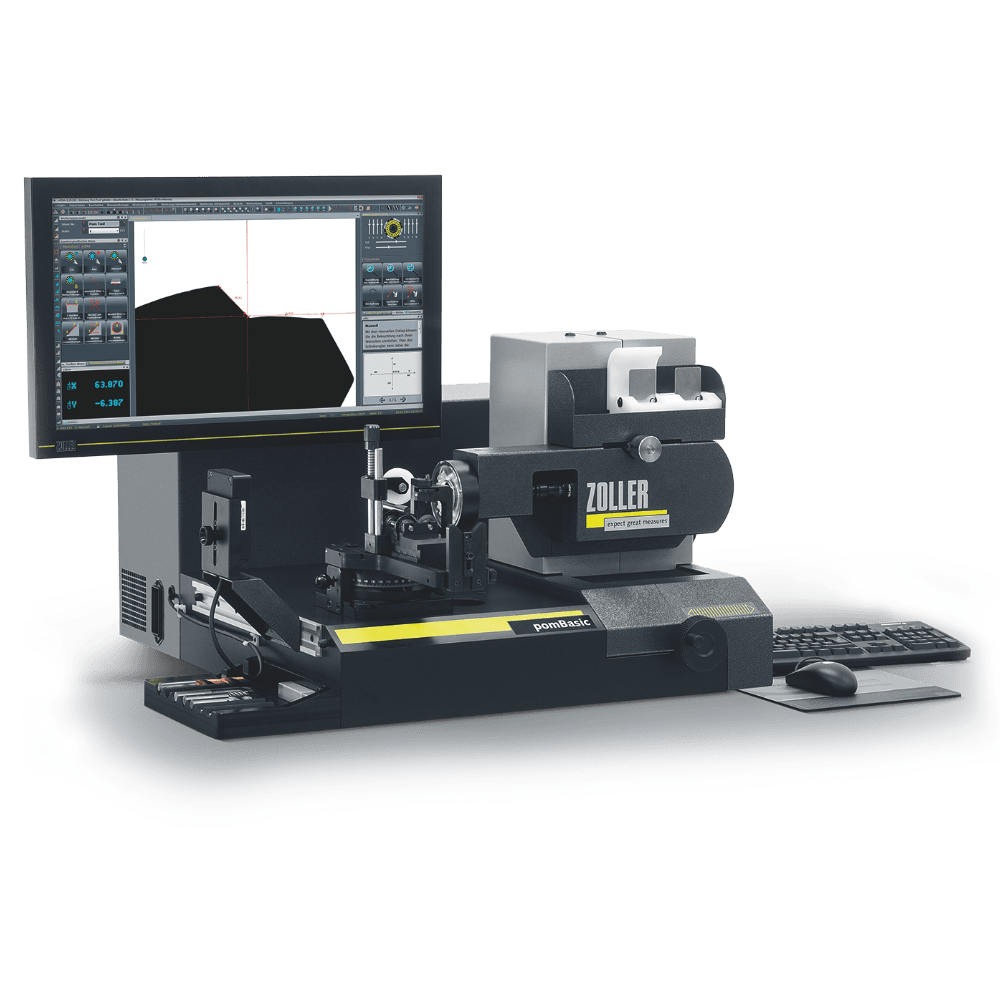
Efficient, process-oriented measurement of standard tools is only possible with high speed in the measuring process, simple operation and short distances to the machine. This is exactly what the »pomBasic« has perfected. Insert. Start. Measure. Finished!

For almost everything from 3 millimeters
Efficient, process-oriented measurement of standard tools is only possible with high speed in the measuring process, simple operation and short distances to the machine. This is exactly what the »pomBasic« has perfected. Insert. Start. Measure. Finished!


